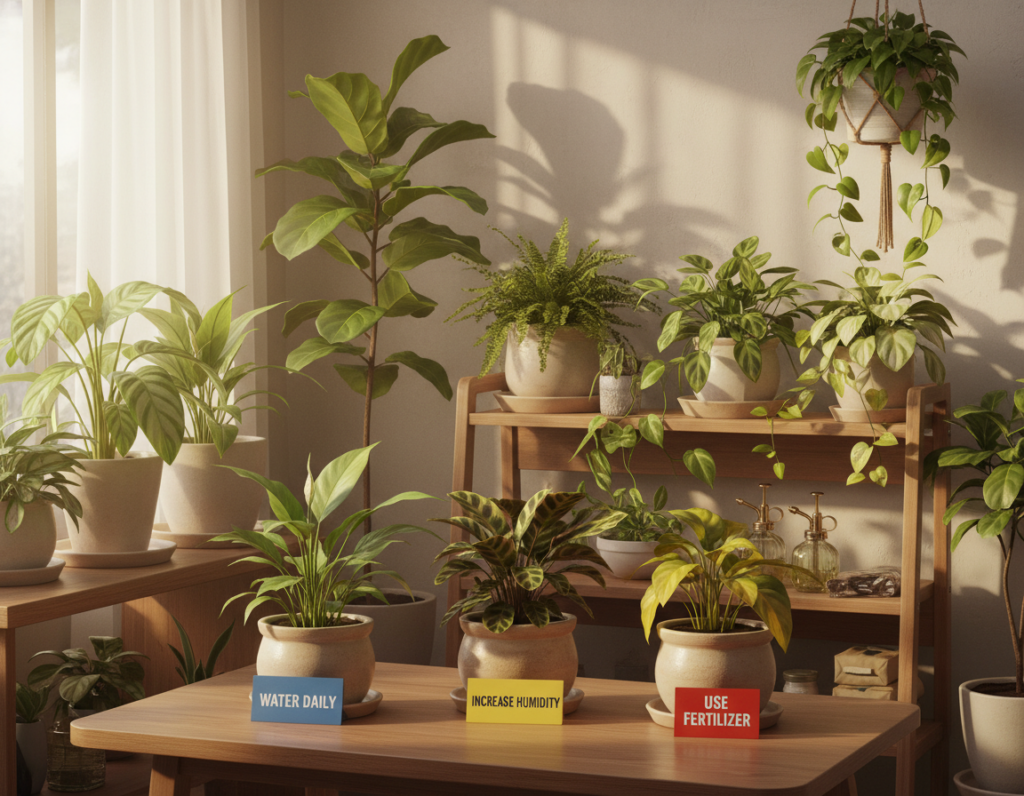
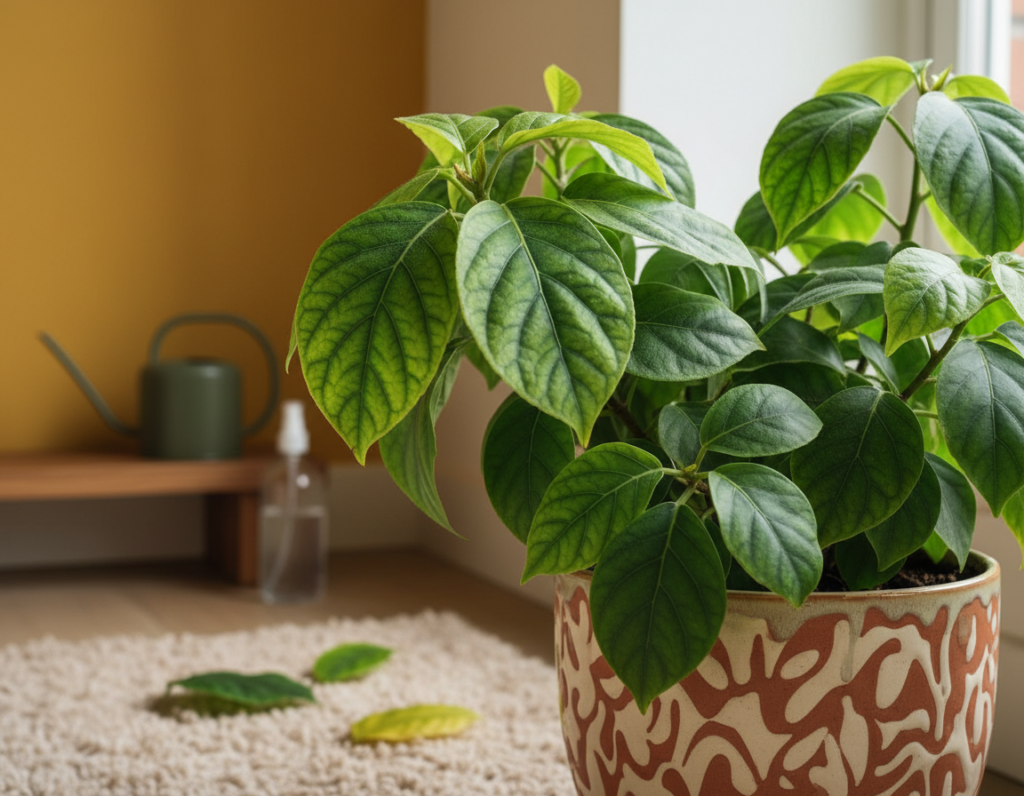
Understanding brown leaf tips helps keep home greenery healthy. When a plant loses more water through its foliage than roots can replace, the tips are the first to show stress. This is often clear in dry apartments with low humidity and high heat.
Research shows almost all water taken in by roots is lost through the leaf surface rather than used for growth. Daily light levels and room airflow shape how a plant manages its water. Simple observation each day can catch early signs before damage becomes permanent.
Proper care starts with identifying the cause. Guessing the wrong cure can worsen the issue. By checking water routines, light exposure, and humidity, one can reduce brown leaf tips and keep plants vibrant.
Understanding Why Indoor Plant Leaves Turn Brown
Many houseplants struggle to move moisture to the far tips of their foliage, so damage often first appears at the edges.
Most species used in the home come from humid, tropical regions. In a dry apartment, that mismatch makes browning more likely even when soil seems moist.
Physiological drought is common: roots hold water, but stems fail to supply the outer tissue fast enough. That creates crisp margins and scorched tips that slowly creep inward.
To identify the cause, compare symptoms. Yellowing across the whole leaf often points to nutrient or root problems. Localized tip scorch usually signals moisture stress or low humidity.
- Many houseplants need higher humidity than typical rooms provide.
- Watering routines alone may not fix transport issues.
- Daily checks help spot leaves turning problematic before loss spreads.
“A quick daily glance separates normal aging from signals that demand attention.”
Assessing Root Health and Soil Conditions
A quick root check often reveals problems that simple surface care cannot fix. Start by easing the specimen from its pot and smell the base of the root ball. A fresh, soil-like scent is good; decay odors mean action is needed.
Inspecting Drainage Systems
Confirm that drainage holes let excess water escape freely. If soil stays dripping wet, water will run down the sides and miss the roots. Soggy mix denies oxygen and invites rot.
Checking Root Firmness
Healthy roots look white and feel firm. Gray or slimy strands point to rot. Gently tease the root ball; roots circling the edge can bind and stop proper water uptake.
- Look for a soil-like smell instead of decay.
- If soil pulls away from the pot, water may bypass the root zone.
- Check the root ball daily for signs of pests or damage.
“Proper drainage is essential: soggy soil prevents roots from getting the oxygen they need.”
The Impact of Under-watering and Inconsistent Moisture
Partial watering — wetting only the top layer — can start a slow cascade of dehydration at the tips. When soil contains dry pockets, a plant prioritizes central growth and lets outer tissue dry first. This process causes leaf tips to brown and become crisp.
Repeated cycles of drought reduce photosynthesis and stunt roots. Stunted roots then absorb less water, which worsens browning and can mimic root decline. Check the soil every day with a finger or a meter to avoid this cycle.
Always water deeply so the entire soil volume is moistened and no roots stay dry. Inconsistent watering can also cause yellowing of lower foliage while tip damage appears at the edges.
- Water thoroughly until excess drains to ensure full saturation of the soil.
- Use a moisture meter or finger test to find true dryness.
- Remember: similar symptoms may come from over-watering, so check the roots before changing routines.
“Proper watering technique prevents the stress that leads to tip browning and stunted growth.”
Managing Fertilizer Salts and Mineral Buildup
Mineral salts that build up in potting mixes can block roots from absorbing enough water and cause visible tip scorch on plants. A white crust on the soil surface is an early sign that salts need removal.
Flushing excess salts means running large volumes of plain water through the pot until runoff is clear. This forces excess minerals out and restores balance around the roots.
- Fertilizer salts create a physiological drought where a plant cannot take up water effectively.
- Flush pots every one to three months with plain water to prevent buildup and protect leaf tips.
- Ensure good drainage so salts wash out instead of reabsorbing into the soil.
Balanced nutrients help long-term growth. Over-fertilizing can cause the same damage, so when a white film appears, flushing is necessary. Daily checks let caretakers spot early browning and act before leaf tips suffer further.
“Flushing restores normal uptake and prevents salt-related tip scorch.”
Addressing Low Humidity in Apartment Environments
When room air stays dry for days, even healthy roots struggle to keep tips hydrated. In the Amazon, humidity often reaches about 88% in the wet season, which contrasts sharply with a typical heated home. That gap explains much of the browning seen on sensitive specimens.
Why Misting Often Fails
Misting gives a quick feel of relief but rarely raises ambient humidity enough to protect foliage. It can leave wet surfaces that encourage fungal growth or attract pests like fungus gnats.
Using Humidity Trays
A tray filled with gravel and water creates a small, steady micro-climate around groupings of houseplants. Place pots on the gravel so roots and soil stay dry while the surrounding air stays moister.
- Benefit: Trays increase local humidity without overwatering the soil.
- Tip: Refill daily during dry spells and clean trays to avoid algae.
Monitoring Airflow
Good airflow prevents mold and helps exchange moisture, but strong drafts will speed up water loss at the leaf tips. Balance ventilation with consistent humidity levels by using a small humidifier or grouping plants together.
“Check humidity levels throughout the day and adjust water and temperature settings to reduce stress on roots and foliage.”
Temperature Fluctuations and Environmental Stress
Sudden swings in room temperature often stress potted specimens and show up first at the tips of their foliage.
Heat or cold extremes can scorch a leaf starting at the edge and move inward, leaving dead tissue that looks like a brown leaf tip over time.
Cold drafts from windows or a blast of hot air from a heater reduce the ability of roots to move water to distant tissue. Direct sunlight or extreme heat can create a local drought effect, forcing stomata to close and the outer tissue to dry.
Monitor light and temperature daily to prevent this type of damage. Small changes may not show for a few days, so consistent checks help catch stress early.
- Keep pots away from vents and cold windows to avoid rapid swings.
- Maintain steady room temperature and stable humidity where the soil and roots can supply water to tip tissue.
- Group plants to create a buffered microclimate and reduce environmental stress.
“A steady environment prevents many cases of tip scorch and long-term damage.”
The Role of Tap Water Quality
Tap water chemistry often goes unnoticed, yet it affects potted specimens over weeks and months. Chlorine, chloramine, and dissolved minerals can accumulate in the potting mix and stress roots, causing visible damage at the leaf tips.
Many houseplants are sensitive to common municipal treatments. Letting tap water sit overnight can reduce free chlorine, and collecting rain water avoids salts and heavy minerals entirely. If rain collection is not possible, a basic filter or pitcher system will cut some contaminants.
- Flush soil every one to three months to prevent mineral buildup in the soil that leads to tipped foliage.
- Test home water if repeated tip scorch appears; high mineral levels can mask nutrient issues and complicate diagnosis.
- Know your collection: some species tolerate tap sources better than others, so match watering choices to each specimen.
“Careful attention to water quality protects roots and reduces stress at the outer tissue.”
Observe plants each day after changing water routines. Small improvements in water quality often show up first at the tips and then across the canopy as vigor returns.
Identifying Signs of Root Rot
Checking a pot’s root ball can reveal early decay before visible foliage loss appears.
Root rot is serious. If roots are black or mushy, they are far gone and must be removed. A foul smell from the soil is another clear sign.
Yellowing leaves combined with brown leaf tips often point to waterlogged roots. Slow growth and wilting can follow, even when the surface soil stays damp.
- Look for: soft, dark roots and a bad odor.
- Act fast: trim rotted roots and repot into fresh, well-draining soil.
- Prevent: improve drainage and adjust watering to keep the pot from staying soggy.
- Check daily: inspect soil moisture and watch for pests that worsen decay.
“Early identification of root rot gives the best chance to save affected plants.”
Proper Techniques for Trimming Damaged Foliage
Trimmed foliage improves appearance and helps a specimen focus on healthy growth. Use sharp, clean scissors and remove only the dead tissue. This keeps the healthy green intact and speeds recovery.
Follow the natural curve of each leaf when removing ragged tips. A rounded cut looks natural and avoids cutting into living tissue. If damage is extensive, remove the entire leaf so the plant can redirect energy.
- Cosmetic fix: Trimming helps houseplants look tidy while the owner addresses root and soil issues.
- Daily checks: Inspect plants each day for new brown leaf tips or fresh tip damage.
- Tools & care: Sterilize scissors between cuts to prevent spread of disease.
“Trimming is temporary; long‑term recovery depends on restoring proper water, temperature, and root conditions.”
Preventive Care for Long-Term Plant Health
Preventive habits—like testing tap water and choosing a quality potting mix—save houseplants from decline. Using a mix such as Pennington Rejuvenate Premium All-Purpose Potting Soil Mix helps maintain moisture balance and improve nutrient uptake around the roots.
Daily checks of light and temperature levels in the home create a stable environment that supports steady growth. Small, consistent adjustments to exposure and room climate prevent many common problems.
Proper watering technique matters: water deeply and allow excess to drain from the pot. Regularly flushing soil with plain tap water removes mineral buildup and protects root function.
Watch for early signs of stress. If foliage shows yellowing or a brown leaf tip, act quickly to correct soil moisture, water quality, or nutrients.
- Use balanced nutrients on schedule to maintain overall health.
- Check plants each day to catch issues before they spread.
- Keep soil refreshed and choose mixes that hold moisture without staying soggy.
“Consistent preventive care keeps roots healthy and prevents unsightly tip damage.”
Conclusion
A steady routine and quick checks prevent small issues from becoming permanent damage.
Maintain consistent watering, good drainage, and high-quality soil so the roots can supply moisture to every tip. Inspect foliage daily and trim only dead tissue to help recovery.
When signs of stress appear, identify the cause and act promptly. For practical guidance on leaf care and common damage, see leaf damage guidance.
With simple habits and steady attention, leaves stay healthy and the risk of brown leaf tips drops significantly.